 Glenhaven Siding
 New-Construction Windows Are a Different Job Than Replacement
"New-construction windows" isn't a product name — it's an installation method. These windows have a nailing fin (sometimes called a flange) built into the frame, and they get installed before the siding goes on, integrated directly into the wall's weather-resistive barrier (WRB) and flashing system. Replacement windows, by contrast, get inserted into an existing opening with the old frame left in place. If you're building new in the Geneva area of Glenhaven, or putting on an addition, this is the method your project needs — and it's the one place in the build where a rushed or out-of-sequence installation causes problems you won't see for years.
Because the window becomes part of the wall assembly itself, there's no room for shortcuts on flashing order, fastener pattern, or sealant placement. Get it right during framing and dry-in, and the window performs for decades. Get it wrong, and water finds its way behind the siding long before anyone notices a leak inside.
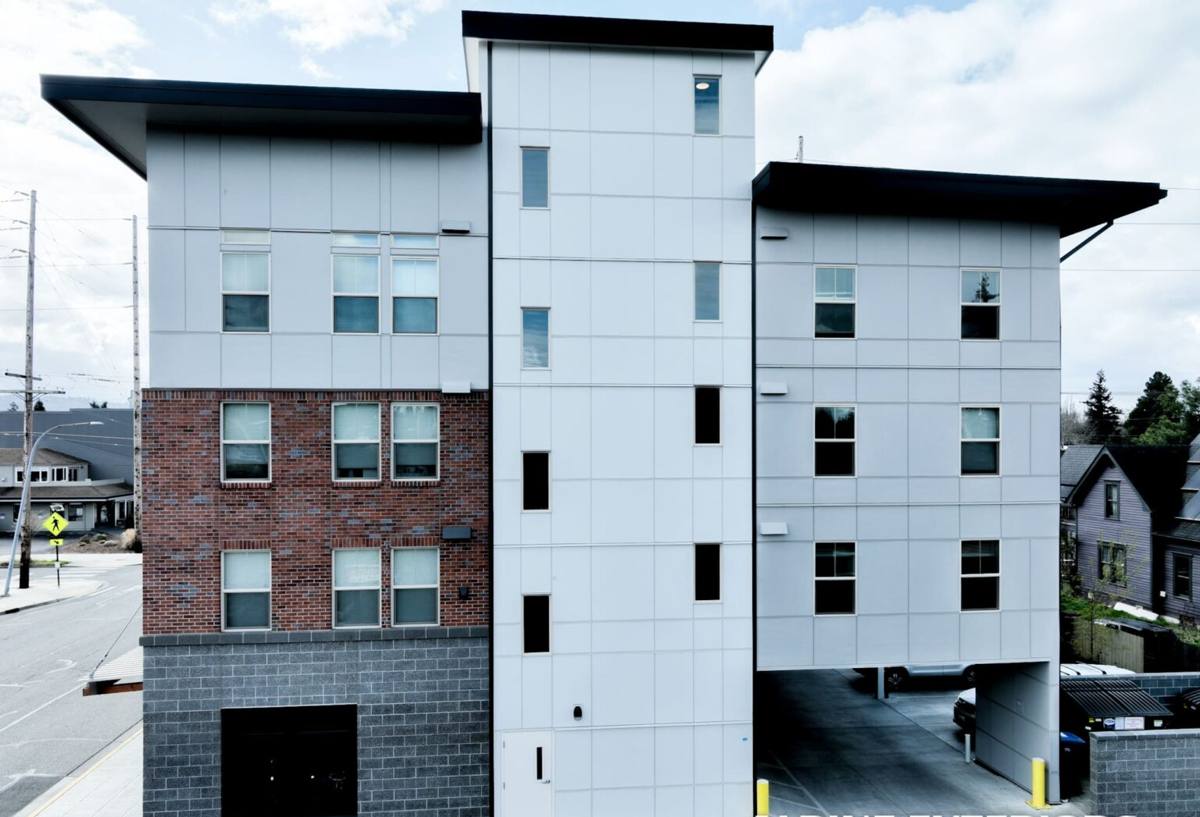
Why Geneva's Climate Puts Extra Demands on the Install
Whatcom County sits right up against marine weather patterns, and homes in the Geneva area of Glenhaven get the full package: salt-laden air off the water, wind-driven rain that doesn't just fall straight down, and a moss season that runs long and heavy for much of the year. None of that is unique to any one house — but it changes what "correct installation" has to account for.
Salt Air and Metal Fatigue
Airborne salt accelerates corrosion on exposed fasteners, hardware, and unprotected metal flashing. It's why we pay attention to fastener material and flashing compatibility on every job near the water, not just the ones marketed as "coastal."
Driving Rain, Not Just Rainfall
Wind-driven rain gets pushed sideways and upward against a wall, which means it can work its way under a poorly lapped flashing detail that would be perfectly fine in a calmer climate. The flashing sequence around a new-construction window has to shed water downward and outward at every layer, with no reverse laps anywhere in the system.
The Long Moss Season
Shaded, damp conditions for much of the year mean moss and algae take hold on horizontal surfaces — including window sills and the tops of trim boards — faster here than in drier climates. Sustained dampness against a sill that isn't properly sloped or flashed shortens the life of the window and the wall framing behind it.
What a Correct Installation Actually Involves
The window unit itself is often the least important variable in how long an installation lasts. What matters more is the sequence of materials around it. A proper new-construction install follows the "shingle-lap" principle from the bottom up, so every layer sheds water onto the layer below it, never behind it.
- Rough opening check — verified square, level, and sized to the manufacturer's tolerance before the window ever gets near the opening.
- Sill pan flashing — a sloped, back-dammed pan at the bottom of the opening so any water that does get past the window drains back outside instead of pooling on the framing.
- Jamb and head flashing — installed in the correct order relative to the WRB, so the housewrap laps over the flanges on the sides and top, not under them.
- Window set and fastened — shimmed for level and square, fastened per the manufacturer's schedule (skipping fastener locations is one of the more common corners cut on production builds).
- Sealant at the right joints only — perimeter sealant goes where it's supposed to seal, and weep paths and drainage gaps are left open. Sealing everything shut traps water instead of letting it escape.
- Interior air seal — a separate step from the exterior weatherproofing, closing the gap between frame and framing on the inside for energy performance and condensation control.
Any one of these steps done out of order can undo the ones around it. A head flashing installed under the housewrap instead of over it, for example, will funnel water directly into the wall cavity — and it won't show up as a visible leak until the sheathing underneath has already been wet for a long time.
Frame and Glass Options for a Marine Climate
There's no single "best" window material — the right choice depends on budget, exposure, and how much upkeep you want to take on. Here's how the common options stack up for a home in a salt-air, high-rainfall area like Glenhaven:
| Frame Material | Coastal/Moisture Performance | Maintenance | Typical Trade-off |
|---|---|---|---|
| Vinyl | Won't corrode or rot; performs well in salt air | Low — occasional cleaning | Limited color/finish options; frame can flex on very large units |
| Fiberglass | Excellent — dimensionally stable, resists moisture and salt exposure | Low | Higher upfront cost than vinyl |
| Aluminum | Strong but conducts cold and can corrode faster in salt air without a marine-grade finish | Moderate | Prone to condensation in our climate unless thermally broken |
| Wood-clad | Good if the exterior cladding is intact; failure point is the wood underneath if moisture gets in | Higher — cladding seams need periodic inspection | Best appearance option; least forgiving of installation errors |
For glass, a Low-E coating with an argon or krypton fill is standard practice in this region — it helps with both winter heat retention and condensation resistance on cooler, damp days. We'll walk through U-factor and condensation resistance ratings against Washington's energy code requirements as part of product selection, not as an upsell.
Our Process for Geneva New-Construction Projects
Working new-construction windows means working alongside your builder or general contractor, not around them. Our process is built to fit into a framing and dry-in schedule without becoming the bottleneck:
- Plan review — we review window schedules and rough opening sizes against the architectural plans before the framer ever cuts an opening, catching sizing mismatches early.
- Product selection — frame material, glass package, and hardware chosen for the specific exposure of that wall (a south-facing wall exposed to driving rain gets treated differently than a sheltered one).
- Rough opening verification on site — measured and checked against tolerance before install day, so there are no surprises with shims or field-cutting.
- Installation — flashing, sill pans, and window set following the sequence above, coordinated with whoever is installing the WRB and siding next.
- Documentation — photos of the flashing and sill pan work before it's covered by siding, plus warranty registration paperwork, so there's a record if anything ever needs to be checked years down the line.
Coordinating With Your Siding Crew
Windows and siding are sequential trades, and the handoff between them is where a lot of long-term problems start. Whoever installs the siding needs the window flashing already integrated correctly with the WRB before their material goes up — and needs to lap their own weather barrier and trim over the window flanges correctly. When the same crew has done both trades on homes in this area, that handoff doesn't require guesswork.
Mistakes We See When a Non-Local Crew Handles It
Crews that don't normally work this specific climate tend to build to a generic standard that works fine in drier parts of the state but falls short here. The patterns we run into most often on inspections and punch lists:
- Housewrap taped under the window flange instead of lapped over it, reversing the drainage path
- No sill pan flashing at all, relying on sealant alone to keep water out of the rough opening
- Standard steel fasteners used in a salt-air exposure where a corrosion-resistant fastener should have been specified
- Weep holes sealed shut "for a cleaner look," trapping any water that does get past the glazing
- Sills installed dead-level instead of with a slight outward slope, which lets standing water and moss buildup sit against the frame year-round
None of these show up on a walkthrough the week the house is finished. They show up two to five winters later, as soft trim, staining, or a window that's suddenly hard to operate.
What Drives Cost on a New-Construction Window Job
We don't quote a job without seeing the plans, but these are the factors that move the number up or down on most Geneva-area projects:
| Factor | Why It Matters |
|---|---|
| Number and size of openings | More windows and larger units mean more material and labor hours |
| Frame material | Fiberglass and wood-clad run higher than vinyl; each has different coastal durability trade-offs |
| Custom shapes or sizes | Anything outside standard manufacturer sizing requires custom ordering and longer lead times |
| Wall height and access | Second-story and hard-to-reach openings take longer to flash and set safely |
| Energy code package | Meeting current Washington State energy code may require upgraded glass or frame specs on some elevations |
| Exposure severity | Walls facing prevailing wind and rain may warrant upgraded flashing details or sealant systems |
Living With Your Windows: Maintenance in a Moss-Heavy Climate
A correctly installed window is low-maintenance, but "low" isn't "none," especially here. A short annual routine keeps things performing as designed:
- Clear moss and debris from sills and any horizontal trim before it holds moisture against the frame
- Check that weep holes at the base of the frame are open and draining, not clogged with pollen or grit
- Inspect perimeter sealant for cracking or separation, especially after the first year as the house settles
- Look for staining or soft trim below window corners — the earliest visible sign of a flashing issue
- Operate hardware and locks a few times through the wet season so mechanisms don't seize
Questions Worth Asking Before You Hire
Whether you're a homeowner managing your own build or working with a general contractor who's subbing this out, these questions separate a crew that understands this climate from one that's guessing:
- Do you install a dedicated sill pan flashing on every opening, or rely on sealant alone?
- What's your housewrap lap sequence relative to the window flange — over or under?
- What fastener material do you use in salt-air exposure, and why?
- Will you document the flashing work with photos before the siding goes on?
- Have you worked new-construction window installs elsewhere in Whatcom County or similar marine climates?
A Local Crew That Knows This Wall Assembly
We work new-construction windows and siding together on homes throughout Glenhaven, including the Geneva area, which means we're not building to a generic standard and hoping it holds up against salt air and driving rain. We're building to what this specific climate actually requires, and we're the same crew your siding contractor will be handing off to and receiving flashing details from — no guesswork at the seam between trades.
If you're planning new construction or an addition in the Geneva area and want the window installation done right the first time, reach out for a free, no-pressure estimate using the form below.