 Glenhaven Siding
 Blaine Roofs Face a Different Kind of Weather Beating
Blaine sits right where the Strait of Georgia weather meets Drayton Harbor and Semiahmoo Bay, and that location shapes what happens to a roof over time. Homes here take on salt-laden air off the water, long stretches of driving rain that comes in sideways during winter storms, and a moss season that can run most of the year in shaded, north-facing sections of a roof. None of that damage looks dramatic at first. It shows up as a lifted shingle tab here, a soft spot in the decking there, and a slow leak that only becomes obvious once it has already stained a ceiling.
Storm damage repair in Blaine isn't the same job as storm damage repair inland. The salt air accelerates corrosion on fasteners, flashing, and gutter hardware. The wind events that roll through tend to be sustained rather than a single sharp gust, which stresses shingle seals differently than a short squall. And because moss has more time to establish itself in our climate, a lot of what looks like "storm damage" after a wind event is really wind exposing rot or lifted shingles that moss and moisture had already been working on for months. A repair that only addresses what the storm did, and ignores what the climate already set up, tends to fail again at the next storm.
What Actually Counts as Storm Damage
Homeowners often assume storm damage means missing shingles or an obvious hole. In practice, the damage we're called out for after a Whatcom County storm falls into a handful of categories, and most of them are subtle enough that they get missed in a quick look from the ground.
| Damage Type | What Causes It Locally | Typical Urgency |
|---|---|---|
| Lifted or creased shingle tabs | Sustained wind breaking the factory seal strip | Moderate — worsens with next wind event |
| Flashing separation at chimneys, walls, valleys | Wind uplift plus corrosion from salt air | High — direct leak path |
| Granule loss / bare spots | Wind-driven rain and hail-like debris impact | Moderate — shortens shingle life |
| Gutter and downspout damage | Wind torque and debris load, worsened by moss runoff clogging | Moderate — leads to fascia rot |
| Soft or spongy decking | Long-term moisture intrusion, often moss-related, exposed by a storm leak | High — structural concern |
| Fastener backing out | Wind flex plus corrosion of nail heads over time | Moderate — precursor to shingle loss |
The important pattern in that table is that "urgency" and "visible size" don't always match. A small flashing gap at a chimney can do more damage over one winter than a section of missing shingles on a garage roof, simply because of where the water goes once it gets in.
The Damage That Gets Missed From the Ground
Most storm damage calls we get start with someone noticing a stain on a ceiling or ice-dam-style leak weeks after the actual storm. By the time water is visible indoors, it has usually been finding its way in for a while. A few things we specifically check for on Blaine roofs after wind and rain events:
- Shingle seal lines that have broken but not yet lifted enough to see from the driveway
- Nail pops under the shingle surface, which telegraph as small bumps rather than obvious damage
- Moss mats at valleys and eaves that trapped storm runoff instead of letting it drain
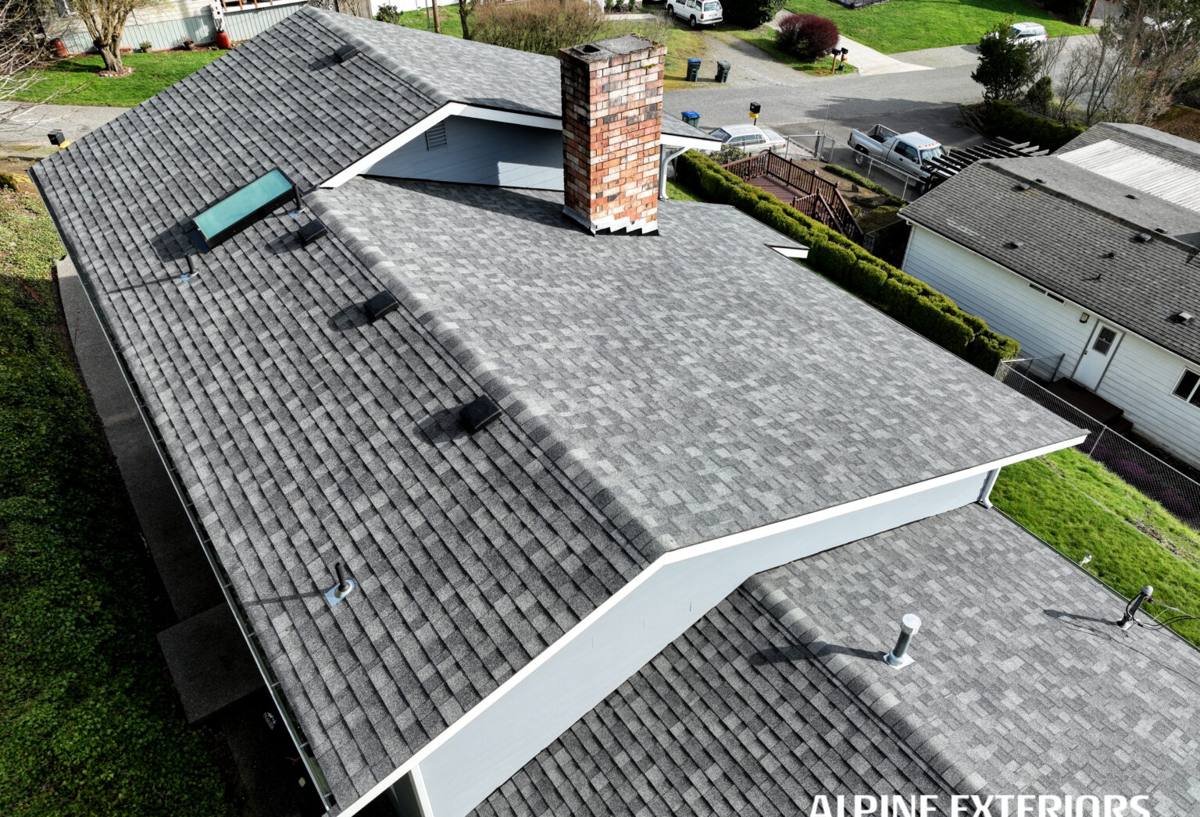
- Corroded or loosened flashing at every roof penetration — vents, chimneys, skylights
- Gutter hangers pulled loose by wind load, causing water to overshoot and saturate fascia
- Soffit and attic ventilation blocked by wind-blown debris, trapping moisture underneath the deck
None of these require a full teardown to check. They require someone who knows what a wind-and-rain climate does to a roof over years, not just what a single storm did last week.
How We Approach a Storm Damage Inspection
Step 1: Ground and Interior Check First
Before anyone gets on the roof, we look at what's visible from the ground and inside the attic if accessible — water stains, sagging, daylight through the decking, and gutter condition. This tells us where to focus once we're up top and gives us a baseline in case an insurance adjuster needs it later.
Step 2: Roof Surface Inspection
On the roof itself, we're checking every shingle course near the damage area, all flashing points, valleys, and the ridge line. We're also looking one layer deeper than the obvious damage — if wind lifted three shingles, we check whether the surrounding shingles' seals are also compromised, since they'll be the next ones to go.
Step 3: Documentation
We photograph and note specific damage locations and likely cause. If the damage is storm-related and you plan to file an insurance claim, this documentation matters — adjusters want to see damage tied to a specific weather event, not general wear.
Step 4: Repair Plan With Options
We give you a straightforward explanation of what needs to happen: a targeted repair, a larger section replacement, or in some cases a recommendation to start planning for full replacement if the roof is old enough that repair would just be a stopgap. We'd rather tell you that up front than have you pay twice.
Repair or Replace? What Actually Decides It
This is the question every homeowner asks, and the honest answer depends on a few concrete factors rather than a rule of thumb. Here's how we weigh it on Blaine homes specifically:
| Factor | Leans Toward Repair | Leans Toward Replacement |
|---|---|---|
| Roof age | Under 12–15 years | Nearing or past the shingle's rated life |
| Damage spread | Localized to one section or slope | Scattered across multiple slopes |
| Underlying decking | Solid, dry when opened up | Soft, delaminated, or previously repaired repeatedly |
| Moss history | Minor, surface-level | Long-term growth that's already degraded shingles broadly |
| Insurance scope | Adjuster approves a partial repair | Adjuster's scope already supports a full slope or roof |
A well-done repair on a roof that's otherwise sound is money well spent. Replacing a roof that only needed a flashing fix is not. But patching a roof that's already at the end of its service life, just because the storm damage is small, usually costs more over two or three years than doing the replacement once.
Materials and Workmanship Standards We Hold To
Given the salt air and moss exposure common to Blaine and the rest of Whatcom County, we're deliberate about a few things on every repair:
Fasteners and flashing: we use corrosion-resistant fasteners and flashing appropriate for coastal exposure rather than whatever is cheapest, since standard-grade hardware corrodes faster this close to salt water.
Underlayment at repair points: any time we open up a section of roof, we replace the underlayment underneath it rather than reusing old material, since underlayment that's been wet once rarely performs the same afterward.
Matching shingle profile and color: we make a genuine effort to match your existing shingle so a repair doesn't stand out as a patchwork, though exact color matching isn't always possible on an older roof due to natural fading — we'll tell you honestly if that's the case before starting.
Ventilation is checked, not assumed: a repair without addressing blocked or inadequate attic ventilation just sets up the next round of moisture damage, so we look at soffit and ridge venting as part of the job, not as an upsell.
A Note on Moss Treatment During Repair
If moss contributed to the damage, we'll remove what's actively growing near the repair area using methods that don't strip granules or damage the shingle surface, and we'll talk through longer-term moss management options for the rest of the roof. We don't push a full moss treatment as part of every storm repair — only where it's actually relevant to preventing the same damage from recurring.
Working With Your Insurance Claim
Most storm damage repairs in this area involve an insurance claim, and the process goes more smoothly when the documentation lines up with what the adjuster expects. We can meet an adjuster on site, provide our inspection photos and notes, and explain the scope of damage in terms that match how claims are typically evaluated. We're not a public adjuster and won't promise a claim outcome, but we will make sure the roofing side of the paperwork is accurate and complete so nothing gets underpaid because damage was missed or under-described.
After a Storm: What to Do First
- Check attics and ceilings for new stains, drips, or damp insulation — don't wait for a visible ceiling leak
- Photograph any visible roof damage from the ground for your own records, but avoid climbing up yourself
- Clear debris away from downspouts and gutter outlets so water can drain while you wait for inspection
- Note the date and general nature of the storm — high wind, heavy rain, falling branches — for your insurance file
- Call for an inspection promptly; a small leak left over a wet Whatcom County winter gets expensive fast
- Avoid tarping or DIY patching beyond basic safety measures, since improper tarping can trap moisture and cause more damage than it prevents
Why a Crew That Already Works Blaine Matters
A roofing crew that mainly works inland doesn't see coastal wind-and-salt damage patterns often enough to know what's normal wear versus what's actually a problem. We work in Blaine and the surrounding Whatcom County communities regularly, so we already know what a roof exposed to Drayton Harbor and Semiahmoo Bay weather looks like at five years, ten years, and twenty years old. That means less time spent educating us about your situation and more time spent actually fixing it correctly the first time — with materials and methods suited to this specific coastline, not a generic inland repair approach.
If a recent storm left you with a leak, missing shingles, or just a nagging feeling that something's not right up there, we're glad to come take an honest look. There's no cost and no pressure for the estimate — just a straight answer about what's going on and what it would take to fix it right.