 Glenhaven Siding
 Lake Whatcom's Climate Is Hard on Siding
Homes around Lake Whatcom sit in a pocket of Whatcom County that gets more shade, more standing moisture, and a longer moss season than open, sun-exposed lots elsewhere in the region. Tree cover along the lakeshore keeps siding wet longer after rain, driving rain off the water finds its way into laps and trim joints, and the moist, cool air that settles over the lake in fall and winter is exactly the environment moss, algae, and mildew need to take hold. Add in the salt-laden marine air that moves through this part of Whatcom County off the Salish Sea, and you have a combination that punishes any siding product that wasn't engineered for sustained moisture exposure.
This isn't a page about siding in general. It's about what actually needs to happen when we install siding on a Lake Whatcom home — the details that matter here specifically, and why the crew doing the work matters as much as the product going on the wall.
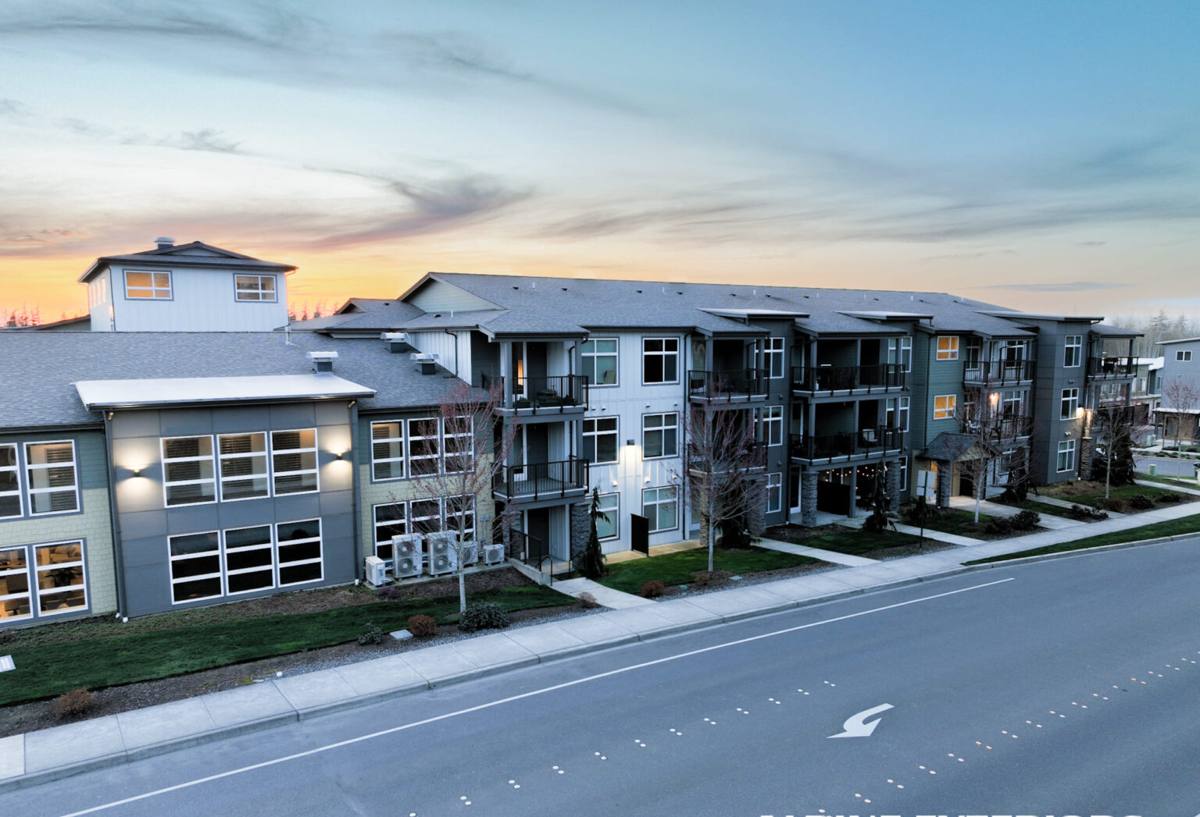
What Lake Whatcom Homes Actually Need From Their Siding
Three conditions define this microclimate, and each one places a different demand on a siding system:
- Shade and slow drying: Tree canopy near the lake blocks sun and wind that would otherwise dry siding out between rain events. Siding here stays damp longer, which means the material itself has to tolerate sustained moisture without swelling, rotting, or delaminating.
- Driving rain off the water: Wind across open water picks up speed and drives rain sideways into the sides of homes facing the lake. Laps, corners, and trim joints take more direct water intrusion than they would on a sheltered, inland lot.
- A long moss and algae season: Cool, moist, shaded conditions let moss and algae establish on siding surfaces and stay active for much of the year, not just a few winter months. Surface finish and paint adhesion quality determine how well a wall resists staining and how easily it cleans back up.
None of these conditions are unique to one house on the lake — they apply broadly to the shoreline and near-shore lots around Glenhaven. That's why we treat this as a distinct installation context, not a generic siding job.
What Correct Siding Installation Involves
Water Management Behind the Cladding
Siding is the visible layer, but the water-resistive barrier and flashing behind it are what actually keep a Lake Whatcom home dry. A correct installation starts with a continuous weather-resistive barrier, properly lapped shingle-style so water sheds downward and outward, with every penetration — windows, doors, hose bibs, vents — flashed so water can't track behind the barrier at the one spot it's interrupted. On a shaded, slow-drying lot, any gap in this layer becomes a slow, hidden leak rather than a visible one, because the siding face may look fine while the sheathing behind it is absorbing moisture.
Fastening, Clearances, and Panel Gaps
Fiber cement siding has to be fastened per the manufacturer's engineering — correct nail placement, correct penetration depth, and a gap left at every butt joint and panel end to allow for expansion. Skipping the gap, or nailing too tight, causes buckling and cracked caulk lines within a few seasons. Ground clearance and roof-line clearance also matter more here than on a dry, open lot: siding installed too close to grade or too close to a roof valley sits in a moisture trap that never fully dries between rains.
Trim, Corners, and Caulk Joints
Outside corners, window trim, and butt joints are where driving rain finds its way in first. We detail these with factory-finished trim, back-primed cut edges, and a sealant rated for the joint width and movement — not a bead of whatever caulk is on hand. On lake-facing elevations that take more direct wind-driven rain, we pay particular attention to head flashing above windows and doors so water is kicked out and away rather than allowed to sit against the trim.
Why We Install James Hardie and Nothing Else
We install James Hardie fiber cement siding exclusively. We don't install vinyl, LP SmartSide, Cemplank, Allura, primed spruce, or cedar, and on a lot like this the reasoning is straightforward. Fiber cement is non-combustible and dimensionally stable in sustained damp conditions — it doesn't swell, delaminate, or feed moss the way engineered wood products can if a seal is ever compromised, and it doesn't chalk, fade, or become brittle in cold, wet winters the way vinyl can over time. James Hardie's ColorPlus factory finish is baked on under controlled conditions, which gives it better adhesion and UV resistance than field-applied paint — a real advantage on a wall that stays shaded and damp for long stretches and where repainting every few years isn't something most owners want to plan for.
James Hardie also builds region-specific HZ product lines engineered for different climate zones, and offers a strong transferable warranty backed by a large, established manufacturer — not a smaller regional mill. For a shoreline property that's going to see decades of moss season, driving rain, and marine air, that combination of material stability, factory finish, and warranty backing is why Hardie is the only product we put our name behind.
Comparing Siding Options for a Lake Whatcom Property
| Factor | James Hardie Fiber Cement | Vinyl | Engineered Wood (e.g. LP SmartSide) |
|---|---|---|---|
| Behavior in sustained damp shade | Dimensionally stable, non-combustible | Can warp or oil-can in heat/cold swings | Relies on intact factory seal; core is wood-based |
| Moss/algae resistance of finish | Factory ColorPlus finish resists staining, cleans up well | Field-molded texture can hold grime in shaded areas | Painted surface; texture can trap organic growth |
| Fire resistance | Non-combustible | Melts/deforms under heat exposure | Combustible wood-based core |
| Long-term maintenance | Occasional wash; repaint interval is long | Low maintenance but can crack/fade over decades | Requires vigilant caulk/paint upkeep to protect edges |
| Warranty structure | Strong transferable manufacturer warranty | Varies widely by manufacturer and grade | Often shorter, more conditional coverage |
This table reflects general product characteristics, not a claim that every vinyl or engineered-wood installation will fail — installation quality matters for any product. It's why we standardized on one material we can install to spec every time, rather than juggling trade-offs across several.
Our Installation Process for Lake Whatcom Homes
- On-site assessment: We walk the exterior, checking existing siding condition, shade exposure, drainage paths, and any areas already showing moss buildup or moisture staining.
- Tear-off and sheathing check: Old siding comes off and we inspect the sheathing underneath for rot or soft spots before anything new goes up — this is the step that catches hidden damage from years of shaded moisture exposure.
- Water-resistive barrier and flashing: A continuous barrier goes on first, with every window, door, and penetration flashed before siding starts.
- Hardie panel installation: Panels, fastening, and expansion gaps installed to James Hardie's published specifications for our climate zone.
- Trim, corners, and caulk detailing: Factory-finished trim and rated sealant at every joint, with extra attention to lake-facing elevations.
- Final walkthrough: We review the finished job with the homeowner and point out any maintenance basics specific to a shaded, damp lot.
Signs Your Current Siding Is Already Struggling
If your home is on or near Lake Whatcom, these are worth checking for before they become bigger problems:
- Persistent green or black staining that returns quickly after washing
- Soft or spongy spots when you press on siding, especially near the ground or under gutters
- Paint that's peeling, bubbling, or chalking rather than just fading evenly
- Visible gaps, cracking, or buckling at panel joints and corners
- Musty smell or visible moisture inside exterior walls near windows and doors
Any one of these can indicate the water-resistive barrier or flashing behind the siding has been compromised — worth a closer look rather than just a repaint.
Why Local Experience on Lake Whatcom Matters
A crew that regularly works this shoreline already knows which elevations take the worst driving rain, how long moss takes to reestablish on a given exposure, and where shade and drainage typically cause problems on this style of lot. That's not something a contractor unfamiliar with the lake picks up on the first job — it shows up in small decisions: where to add extra flashing, which corners need a wider expansion gap, how ground clearance should be set given the grading around a typical lakeside foundation. Hiring a crew with that specific background reduces the odds of a callback a few years down the road for a problem that was preventable at install time.
Cost Factors for Lake Whatcom Siding Projects
| Factor | Why It Affects Cost |
|---|---|
| Existing sheathing condition | Rot or soft sheathing found during tear-off requires repair before new siding goes on |
| Number of window/door openings | Each opening needs individual flashing and trim detail |
| Home size and elevation complexity | Multiple stories, dormers, and cut-up rooflines add labor time |
| Access on shaded/wooded lots | Tree cover and tighter side yards common near the lake can slow staging and scaffolding |
| Trim and color selection | Factory-finished trim and specialty ColorPlus colors carry different material costs |
We won't quote a number without seeing the home — every one of these factors changes the estimate, and guessing at a price without a walk-through does homeowners a disservice.
Get a Straight Answer for Your Home
If you're dealing with moss buildup, paint failure, or a siding job that's overdue on a Lake Whatcom property, we're happy to take a look and give you a straightforward assessment — no pressure, no inflated urgency. Use the form below to request a free estimate, and we'll walk the exterior with the specific conditions of your lot in mind.