 Glenhaven Siding
 Siding Repair in Sehome: Built for This Corner of Whatcom County
Sehome homes sit in a stretch of Glenhaven where salt-laden air off the water, wind-driven rain, and a moss season that can stretch across most of the year all work on a house's exterior at the same time. Siding here doesn't fail because it's old — it fails because moisture found a way in and nobody caught it early. A proper repair isn't about slapping a patch over a stain. It's about finding out why that spot failed, fixing the actual cause, and matching the repair so it disappears into the wall instead of becoming the next weak point.
We do this work across Glenhaven and specifically in neighborhoods like Sehome often enough to know the patterns: which elevations take the worst of the weather, which siding materials hold up and which don't, and what a rushed repair looks like five years later. This page covers what Sehome homeowners actually need to know before they hire someone to fix their siding.
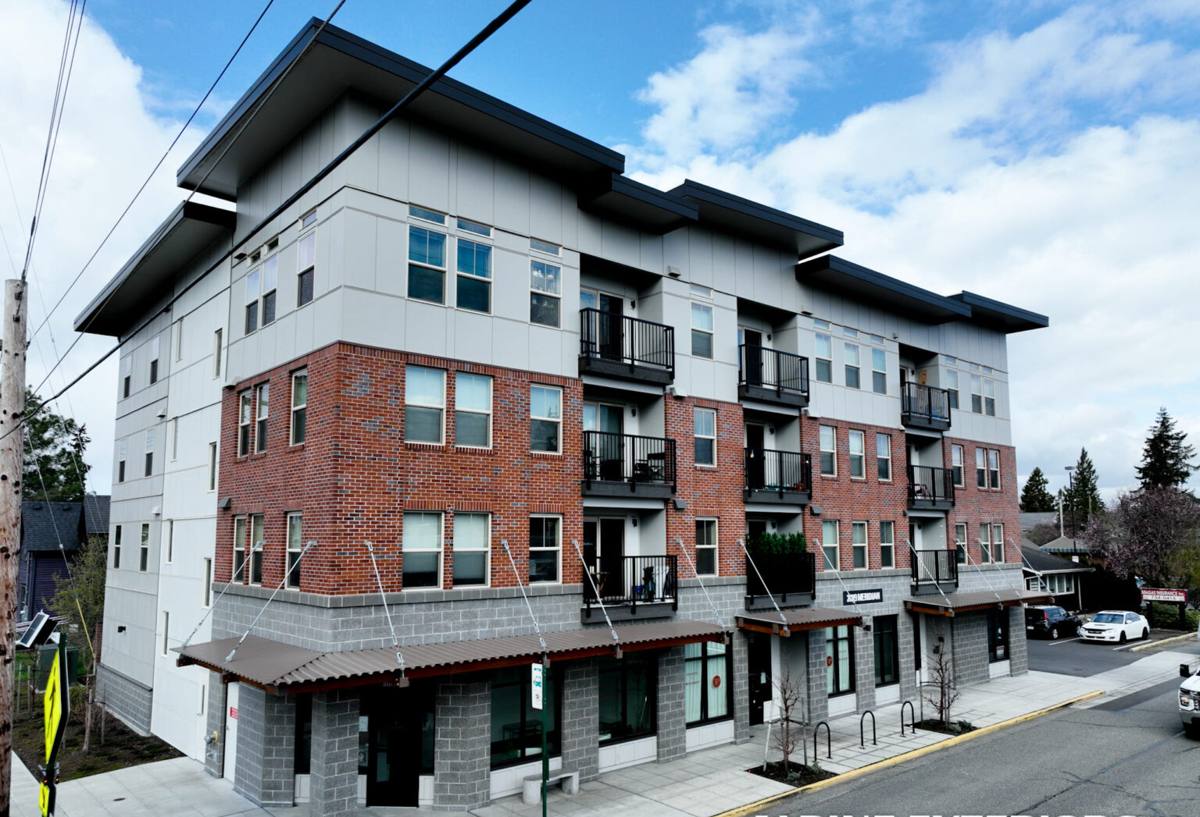
Why Sehome Siding Takes More Abuse Than People Expect
Three things stack up against exterior siding in this part of Whatcom County, and they compound each other rather than acting alone.
Salt Air
Proximity to salt water means airborne salt settles on exterior surfaces and accelerates corrosion of fasteners, flashing, and any exposed metal trim. It also holds moisture against surfaces longer than dry inland air would, which matters a lot for wood-based and wood-composite siding products.
Driving Rain
Rain that comes in sideways during a storm doesn't behave like rain falling straight down. It gets pushed under laps, around trim, and into any gap in caulking or flashing that a calm-weather inspection would miss. Wall assemblies here need to be detailed for wind-driven rain, not just rainfall totals.
A Long Moss Season
Glenhaven's damp, shaded conditions give moss and algae a long runway — often most of the year on north-facing walls, under eaves, and anywhere airflow is limited. Moss holds water against the siding surface, keeps that surface from drying out between rain events, and on the wrong material, that constant damp is exactly what leads to swelling, delamination, or rot underneath.
None of these three things is dramatic on its own. Together, over years, they're what turns a small gap in flashing into a soft spot in the wall.
Signs Sehome Siding Needs Repair
Most siding problems give warning signs well before they become structural. Catching them early is the difference between a repair and a much larger project.
- Soft or spongy spots when you press on the siding, especially near the bottom courses or below windows
- Visible gaps, cracks, or separation at seams, corners, or trim joints
- Paint that's peeling, bubbling, or failing in one specific area rather than uniformly across the wall
- Persistent moss or algae growth that keeps returning to the same spot no matter how often it's cleaned
- Staining or discoloration that tracks downward from a seam, window, or roofline — a strong sign water is getting behind the siding
- Warping, buckling, or boards that no longer sit flat against the wall
- A musty smell or visible moisture on the interior side of an exterior wall
- Rust streaks around fasteners or trim, especially on walls exposed to onshore wind
If you're only seeing one or two of these, in one location, that's usually a repair. If several of these show up across multiple walls, that often points to a systemic problem — original installation defects, chronic moisture intrusion, or siding material that's simply reached the end of its useful life — and it's worth having someone assess the whole exterior rather than chasing one spot at a time.
What a Correct Siding Repair Actually Involves
A repair that's done right takes more steps than most homeowners expect, because the visible damage is rarely the whole story.
1. Find the Actual Source
Before anything gets cut out or replaced, we trace the water path. Damage that shows up at the bottom of a wall often started at a gap much higher up — a failed kick-out flashing, a caulk joint that opened up, or a window flange that was never sealed correctly. Fixing the visible spot without fixing the source just means the same repair again in a few years.
2. Remove Compromised Material — All of It
Cutting out only the obviously damaged section and leaving softened or wet material next to it is one of the most common shortcuts in low-quality repair work. Moisture-damaged wood sheathing, house wrap, and any siding that's absorbed water needs to come out until we're back to solid, dry material.
3. Correct the Water Management Detail
This is the step that actually prevents a repeat failure. That can mean re-flashing a window or door head, adding or correcting kick-out flashing where a roofline meets a wall, fixing lap orientation, or reworking a butt joint so water sheds instead of collecting. In a wind-driven-rain climate like this one, the flashing detail matters as much as the siding material itself.
4. Replace with Matched Material
Whenever possible, we match the existing siding profile, exposure, and color so the repair blends in rather than standing out as an obvious patch. With James Hardie's factory ColorPlus finish, matching an existing color is far more reliable than trying to field-match paint on other materials, since ColorPlus panels are baked on in a controlled process rather than mixed and brushed on-site.
5. Seal and Finish Correctly
Fastener patterns, caulk joints, and paint or touch-up work all need to follow the manufacturer's specifications — not just look acceptable from the ground. A repair that's fastened wrong or caulked in the wrong place can fail again even if everything else was done right.
Common Repair Issues We See Around Sehome
| Issue | What's Usually Happening | Typical Fix |
|---|---|---|
| Soft siding near ground level | Splash-back moisture, poor grading, or missing/failed flashing at the base | Remove and replace affected sections; correct drainage or clearance at grade |
| Recurring moss on north-facing walls | Limited sun exposure and airflow keeping the surface damp for extended periods | Clean, treat, and address any underlying moisture trapped behind the siding |
| Cracked or delaminating boards | Repeated wet/dry cycling on a material not engineered for this level of moisture exposure | Section replacement with a moisture-resistant material matched to the existing wall |
| Rust streaks at fasteners | Salt air corroding exposed or improperly coated fastener heads | Replace with corrosion-resistant fasteners rated for coastal exposure |
| Staining below a window | Failed or missing window flashing letting water track down the wall | Re-flash the window opening before replacing any siding |
| Gaps at trim and corners | Original caulk joint failure or material shrinkage over time | Re-seal with appropriate sealant; replace trim if it's also compromised |
Our Repair Process
Assessment
We start with a full walk of the exterior, not just the spot you called about. Because moisture problems often show up in more than one place at once, we look at flashing, caulk joints, grading, and ventilation as well as the siding itself.
Honest Scope
We'll tell you plainly whether what you're looking at is a contained repair or a sign of a bigger issue. If a repair is the right call, we'll explain what's involved and why. If the siding is failing broadly, we'll say that too rather than patching around a problem that's going to keep coming back.
The Work Itself
Removal of compromised material, correction of the underlying water management detail, replacement with matched material, and proper fastening and sealing — in that order, every time. We don't skip the flashing correction step to save time, because that's the step that actually stops the problem from returning.
Cleanup and Walkthrough
We walk the finished repair with you, point out what was done and why, and make sure it matches the surrounding siding the way it should.
Repair or Replace? What Actually Determines the Answer
This is the question most Sehome homeowners are really asking when they call about a repair. There's no universal rule, but a few factors consistently point one direction or the other.
| Factor | Leans Toward Repair | Leans Toward Replacement |
|---|---|---|
| Extent of damage | Isolated to one area or wall | Present on multiple elevations |
| Age of siding | Well within its expected service life | At or near the end of its expected life |
| Underlying material | Still structurally sound where undamaged | Showing widespread softness, delamination, or rot |
| Cause of failure | A single fixable detail (one flashing, one joint) | A systemic issue like original installation defects |
| Cost over time | Repair cost is a fraction of full replacement | Repeated repairs are approaching replacement cost |
When damage is contained and the rest of the wall is sound, repair is the honest and cost-effective answer, and that's what we'll recommend. When we're looking at the third or fourth repair to the same wall, or damage spread across the house, replacement stops being about siding and starts being about protecting the structure underneath it.
Why We Repair With James Hardie
We install and repair with James Hardie fiber cement exclusively — we don't install LP SmartSide, vinyl, Cemplank, Allura, or bare wood siding, and that standard applies to repair work too. A few reasons that matters specifically for repairs in a climate like Sehome's:
- Non-combustible material that doesn't share the moisture-absorption behavior of wood-based composite sidings
- Factory-applied ColorPlus finish that makes color-matching a repaired section to existing siding far more consistent than field-mixed paint
- HZ5 product engineering designed for the Pacific Northwest's freeze-thaw and moisture cycling, not a generic all-climate spec
- Dimensional stability that resists the swelling and warping that drives a lot of siding repair calls in the first place
- A strong transferable warranty backing both the substrate and the factory finish
Fiber cement isn't magic — it still needs correct flashing, correct fastening, and correct joint detailing to perform the way it's engineered to. But it gives us a material that, installed and repaired correctly, doesn't fight the climate the way some other products do.
Why Hiring a Crew That Already Works Sehome Matters
Siding repair looks straightforward from the outside, but the details that determine whether it lasts are specific to how a wall is built and what climate it sits in. A crew that's repaired siding across Glenhaven and neighborhoods like Sehome already knows which elevations catch the worst wind-driven rain, where moss tends to camp out, and which original installation shortcuts show up most often in homes of a given age. That local pattern recognition shortens the diagnosis and reduces the chance of missing the actual cause of a failure.
It also means we're not guessing at flashing details or fastening schedules that work for a drier or milder climate. What holds up in Sehome's combination of salt air, wind-driven rain, and a long wet season is a narrower spec than what works everywhere, and a crew working this area regularly builds a feel for it that's hard to get any other way.
A Quick Checklist Before You Call
- Note where you're seeing the problem — which wall, how high, near a window or roofline?
- Check if the area is soft or spongy when you press on it gently
- Look for staining that tracks downward from a specific point
- Note whether the issue is new or something that's come back after a previous repair
- Check nearby walls for similar (even smaller) signs — isolated issues and widespread ones get handled differently
- Avoid painting or caulking over a soft or stained area before it's been assessed — it can hide the extent of the damage
Get an Honest Look at Your Siding
If you're seeing soft spots, recurring moss, staining, or gaps in your siding anywhere in Sehome, it's worth getting eyes on it before it turns into a bigger repair. We'll walk the exterior, tell you plainly what we find, and give you a straightforward recommendation — repair or replace — with no pressure either way. Reach out for a free estimate using the form below.