 Glenhaven Siding
 Building New at Lake Whatcom Means Getting the Windows Right the First Time
New construction gives you one real chance to install windows correctly. Once siding, trim, and interior finish work close up the rough opening, fixing a flashing mistake means tearing back into finished walls. That's true anywhere, but it matters more on a Lake Whatcom build than on a lot in town. Homes here sit closer to tree cover, catch more shade and standing moisture on their north and west walls, and take direct weather off the lake during winter storms. A window that's installed a little bit wrong on a dry inland lot might go years before it shows a problem. On a Lake Whatcom lot, it can show up in one wet season.
We install new-construction windows for builders and homeowners around Glenhaven and the rest of Whatcom County, and the lake shoreline is a big enough part of our work that we've built our process around what this specific area does to a window opening. This page covers what that involves — not generic window-installation advice, but what a correct job looks like on a new Lake Whatcom home.
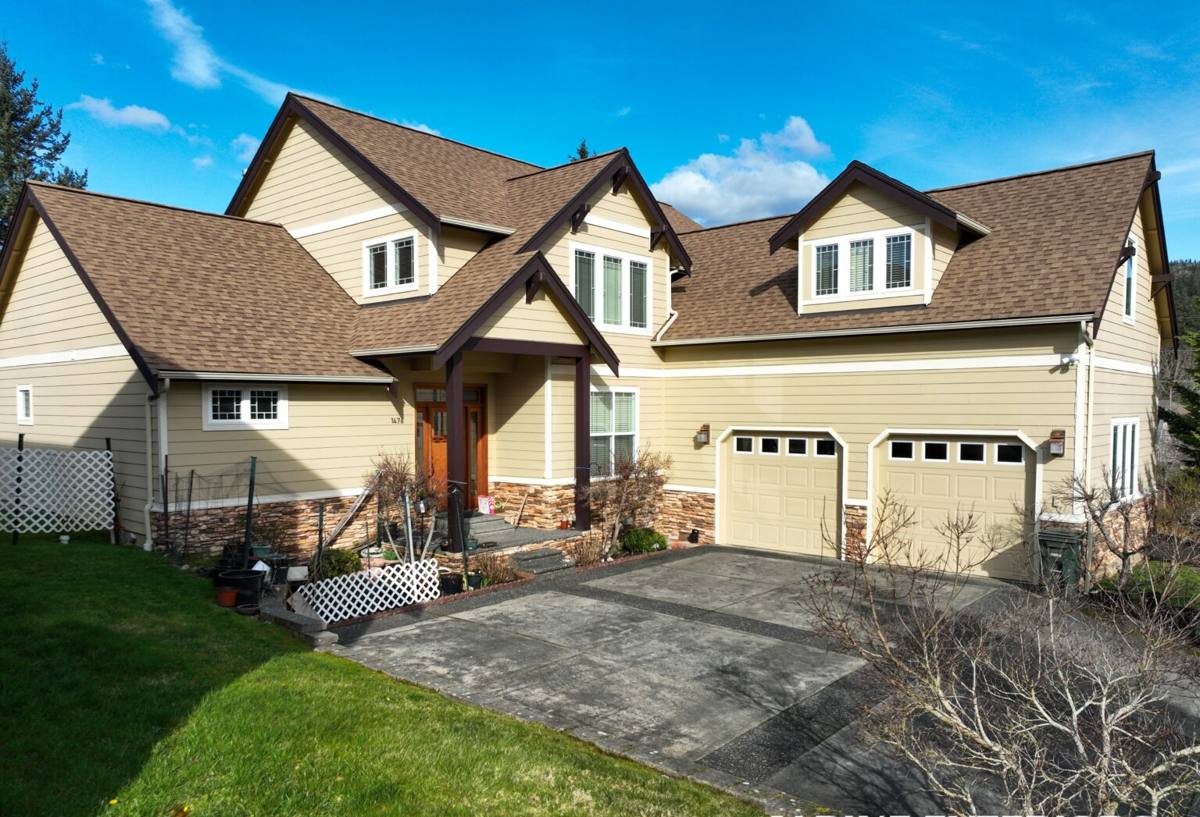
What This Climate Does to a New Window Opening
Whatcom County sits in a marine-influenced climate, and that shows up at Lake Whatcom as heavy, sustained rain events, humid air off the water, and long stretches of overcast, low-drying weather — especially on shaded or timbered lots. A few things follow from that:
Driving Rain Load
Winter storms here don't just drop rain straight down — wind pushes it sideways into wall assemblies, especially on lake-facing elevations with less windbreak than a typical in-town lot. A window opening has to be built to shed that water outward and downward at every layer, not just rely on caulk at the trim to keep it out.
Moss and Mildew Season
The same damp, shaded conditions that grow moss on a roof will grow it on window sills, trim, and cladding that stay wet too long. A window detail that traps moisture instead of draining it becomes a growth surface within a season or two, and that's a maintenance headache long before it's a structural one.
Salt and Marine Air Exposure
Whatcom County's proximity to Puget Sound means marine air reaches inland further than people expect, and it's harder on exposed fasteners, hardware, and unprotected metal flashing than a fully inland climate. Corrosion-resistant fasteners and flashing aren't optional upgrades out here — they're part of doing the job once.
Condensation From Lake Humidity
Homes close to the water deal with higher ambient humidity than homes further up the hill. On a new build, that raises the importance of proper glass selection and interior air sealing — a window that's fine in a drier climate can fog or sweat here if the glass package and installation aren't matched to the site.
The Anatomy of a Correct New-Construction Window Install
New-construction windows get installed with a nailing fin directly into the rough opening before siding goes on, which means the window becomes part of the wall's water management system — not just a hole with glass in it. Done right, the sequence looks like this:
- Rough opening check. Verify the opening is square, plumb, and sized correctly before the window ever goes in. A window forced into an out-of-square opening will bind, leak, or both.
- Sill pan flashing. A sloped, sealed pan under the window sill so any water that gets past the window has somewhere to go besides into the wall framing. This is the single most-skipped step on rushed installs, and the one that causes the most rot when it's missing.
- Weather-resistive barrier integration. The house wrap has to be cut, lapped, and taped so it directs water over the top of the window flange, not behind it — a shingled, top-to-bottom water path from roof to foundation.
- Window setting and fastening. Set to manufacturer spec, shimmed for square, and fastened with corrosion-resistant fasteners rated for this climate.
- Flashing tape and head flashing. Side and head flashing taped over the nailing fin, with a drip cap or head flashing above to break up water flow before it ever reaches the window head.
- Interior and exterior sealing. Low-expansion foam or backer rod and sealant on the interior for air sealing, and a proper exterior sealant joint at the trim — sized and tooled to actually shed water, not just look finished.
Every one of those steps is inspectable before siding goes on. That's the advantage of new construction over a retrofit: we can verify the water management is correct while it's still exposed, instead of guessing at it later.
Choosing the Right Window for a Lake Whatcom Build
Frame material and glass package both matter more here than they would in a drier, milder climate. We don't push one brand — we size the recommendation to the wall assembly, the elevation's sun and rain exposure, and the budget. Here's the honest breakdown of the frame options we install most:
| Frame Material | Moisture Performance | Maintenance | Typical Fit |
|---|---|---|---|
| Vinyl | Good — won't rot, handles humidity well | Low — no painting, occasional cleaning | Best value for most new builds; wide color range |
| Fiberglass | Excellent — very stable in wet/dry cycling, low expansion | Low — durable finish, holds paint if repainting is ever wanted | Higher upfront cost; strong fit for lake-facing elevations with heavier weather exposure |
| Wood-clad | Good if detailed correctly, but exterior clad relies on the cladding staying intact | Moderate to high — interior wood finish needs periodic attention | Chosen for interior wood look on higher-end builds; needs disciplined flashing detail |
| Aluminum | Poor thermal performance, prone to condensation without thermal breaks | Low physical maintenance, but condensation issues are a real drawback here | We generally steer builds away from it for this climate unless it's a thermally broken commercial-grade product |
For most Lake Whatcom new builds, we land on vinyl or fiberglass with a dual-pane, Low-E, argon-filled glass package. Triple-pane is worth discussing on lake-facing walls with a lot of glass area, both for comfort and for reducing condensation risk in that higher-humidity zone near the water.
Egress and Large Glass Walls
A lot of new builds around the lake want big view windows or window walls facing the water. That's achievable, but it needs to be planned with the structural engineer and window supplier together — larger units often need heavier framing, different anchoring, and sometimes tempered or laminated glass depending on placement. Bedrooms also have to meet egress requirements regardless of how the elevation is designed, so egress sizing gets checked early, not after the rough opening is framed.
Energy Code Compliance on a New Build
Washington's state energy code sets minimum performance requirements for new-construction windows, and it's stricter than a lot of other states. U-factor and solar heat gain coefficient (SHGC) targets vary depending on the home's overall energy path and the window-to-wall ratio, so window selection isn't just a style choice — it's a code compliance item that has to be coordinated with whoever is doing the home's energy calculations. We work from the project's energy code path so the glass package we install actually satisfies what's been submitted for permit, not a generic "energy efficient" label that may not hit the number required.
How Our New-Construction Process Works
On new builds we're almost always working alongside a general contractor or the homeowner acting as their own GC, so coordination matters as much as the install itself.
- Plan review: We review window schedules and rough opening sizes against the plans before ordering, so nothing shows up wrong on delivery day.
- Site walk with the framer: Before openings are framed, we confirm sizes and flashing details with whoever's framing the shell.
- Delivery and staging: Windows get checked against the order and staged to avoid damage before install.
- Install per opening, in sequence: Sill pan, WRB integration, setting, flashing, and sealing — done and inspected per window, not rushed as a batch.
- Photo documentation: We document flashing details while they're still exposed, before siding covers them, so there's a record of what's behind the wall.
- Final walkthrough: Operation, sealant lines, and trim get checked once the exterior finish is on.
Mistakes We Catch Before They Become Callbacks
Most window problems on new builds trace back to a handful of repeat issues. We watch for these on every job:
- Missing or improperly sloped sill pan flashing
- House wrap lapped the wrong direction over the flange, directing water behind the window instead of over it
- Fasteners that aren't corrosion-resistant, left exposed to marine air
- Sealant used as the only water barrier instead of as a backup to proper flashing
- Window schedule mismatches caught only after the opening is already framed
- Glass packages that don't actually meet the project's submitted energy code path
Every one of these is cheap to fix before siding goes on and expensive to fix after. That's the whole case for careful sequencing on new construction — it's the only phase where these things are still visible.
Why It Matters That We Already Work Lake Whatcom
A window installer who mostly works drier, more sheltered lots can do fine work and still miss what this specific area needs — the extra attention to drainage, the corrosion-resistant hardware, the glass package sized for lake-adjacent humidity. We work this shoreline regularly enough to know which elevations take the worst weather, where moss and mildew show up first, and how the county's inspectors expect flashing details documented. That's not a marketing line — it's the difference between a window that's technically installed and one that's actually built for where it sits.
If you're planning a new build at Lake Whatcom, or you're a builder looking for a window subcontractor who already knows this shoreline, we're glad to walk the plans with you. Reach out for a free, no-pressure estimate using the form below.