 Glenhaven Siding
 Siding Repair on Lake Whatcom: A Different Kind of Wear
Lake Whatcom sits right at the edge of Glenhaven, and homes around its shoreline and up the surrounding hillsides deal with a version of Whatcom County's climate that's a step harsher than a typical in-town lot. Salt-tinged air drifts in and settles over the water, driving rain moves across open stretches of the lake with real force behind it, and a moss season that starts early and runs long keeps exterior surfaces damp for months at a stretch. Siding on a Lake Whatcom home isn't just cosmetic — it's the first line of defense against all three of those pressures at once, and when it starts to fail, it tends to fail quietly, behind the surface, before anything is obvious from the yard.
This page is about one thing specifically: repairing siding on homes in the Lake Whatcom area, not a full re-side. Repair work has its own logic. Done right, it stops a specific problem before it spreads and buys years of life out of siding that's otherwise sound. Done wrong — patched without understanding why the damage happened in the first place — it just delays the same failure by a season or two.
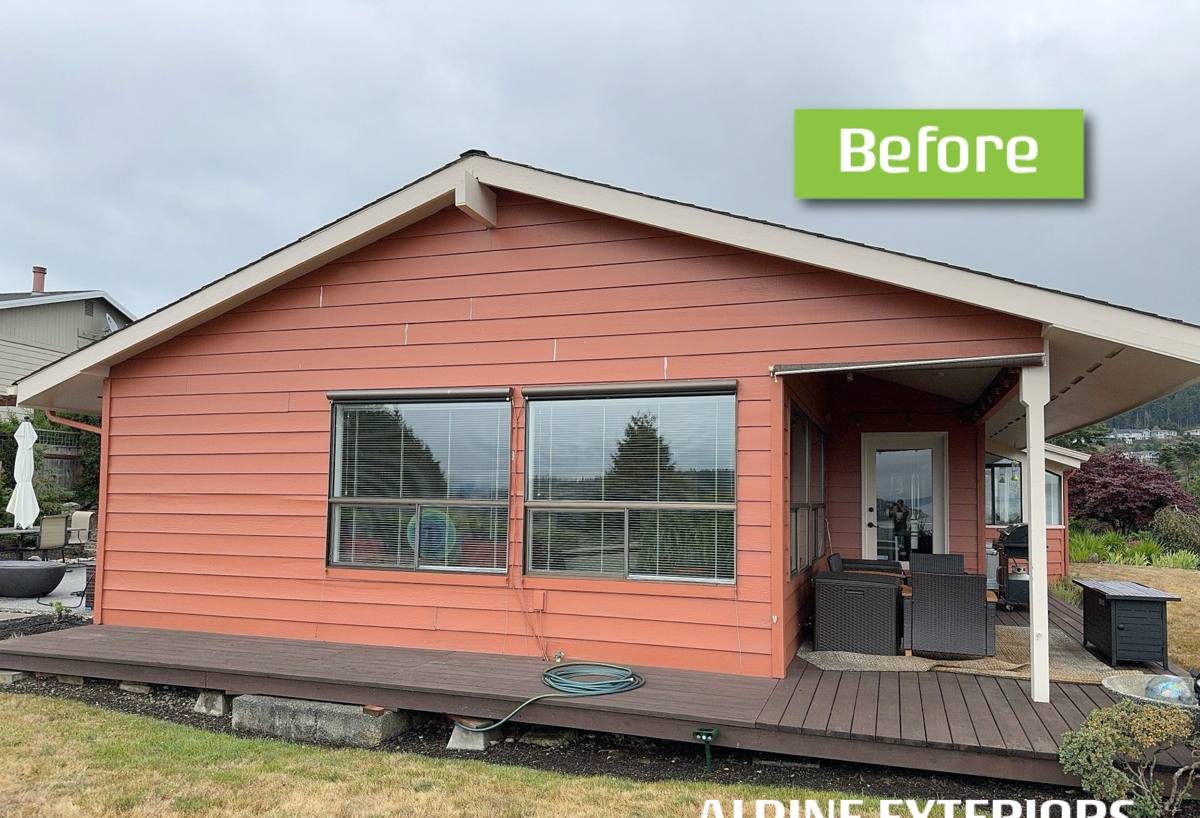
Signs a Lake Whatcom Home Needs Siding Repair
Most siding repair calls we get around the lake start with one of these. None of them are emergencies on their own, but each one is worth a look before it becomes a bigger job:
- Soft or spongy spots when you press on a panel, especially near the bottom courses or below windows
- Visible gaps, cracks, or separation at seams and corner boards
- Paint or finish that's bubbling, peeling, or failing in one specific area rather than across the whole wall
- Moss or dark staining that keeps coming back on the same section no matter how often it's cleaned
- Warping, bowing, or panels that no longer sit flat against the wall
- Water staining or a musty smell on an interior wall that lines up with an exterior trouble spot
- Fasteners that have rusted, backed out, or left streaking down the siding face
Any one of these is a reason to get eyes on the wall. On a lake-exposed property, small problems tend to move faster than homeowners expect, because the siding rarely gets a long dry stretch to slow things back down.
Why This Climate Complicates Repair Work
Salt-Laden Air and Fastener Corrosion
Air moving off open water carries salt further than most people assume, and it settles on everything — siding, trim, and especially the metal fasteners and flashing holding it all together. Corroded fasteners don't just look bad; they lose their grip over time, which is how a section of siding that seemed fine starts to work loose or let water track in behind it. Repair work near the lake has to account for hardware condition, not just the visible panel damage, or the same spot fails again within a couple of seasons.
Wind-Driven Rain and Wall Orientation
Rain around Lake Whatcom doesn't fall straight down for long. Open water gives wind a clear run at the shoreline and the homes above it, and that means different walls on the same house can take very different amounts of water. A lakeside-facing wall might need real attention while the sheltered side of the same home looks fine. When we diagnose a repair, we look at that wall's specific exposure — not just the damage itself — because it tells us whether the original flashing and drainage detailing was ever adequate for what that wall actually receives.
A Long Moss and Mildew Season
Shade from surrounding trees, humidity off the lake, and mild temperatures for much of the year add up to a moss and mildew season that runs longer here than it does on a drier, more open lot. Moss holds moisture directly against the siding surface, and on porous or moisture-absorbing materials that constant dampness accelerates exactly the kind of breakdown that leads to a repair call. Recurring moss on the same section of wall, even after cleaning, is usually a sign that something behind the surface — drainage, clearance, or flashing — needs correcting, not just another cleaning.
What a Correct Siding Repair Actually Involves
Diagnosing the Cause, Not Just Patching the Symptom
Cutting out a damaged panel and screwing in a new one is the easy part. The harder, more important part is figuring out why that section failed in the first place — bad flashing, a clearance problem at grade, a fastener issue, or wind-driven rain finding a gap that was never properly sealed. Skip that step and the replacement panel is just starting the same clock over again. We open up the area enough to see what's actually going on behind the surface before we decide what the repair needs to include.
Matching Material, Profile, and Finish
A repair should be close to invisible once it's done, which means matching the existing siding's profile, exposure, and color as closely as possible. With factory-finished fiber cement, that also means being upfront with homeowners about finish matching — a panel installed years ago has had that much more sun and weather exposure than a brand-new piece, so a perfect color match isn't always possible on an older wall. We talk through those expectations before starting, rather than after.
Restoring Flashing and Drainage, Not Just the Panel
Most of the repairs that actually hold up long-term involve more than the siding itself. Flashing above windows and doors, water-resistive barrier behind the panel, and proper clearance from grade or roof lines all have to be correct for the new section to perform the way it should. On a lake-exposed wall taking wind-driven rain regularly, cutting corners on any of that is how a repair that looked fine on install day starts leaking again within a year or two.
Repair or Replace? How We Make That Call
Not every damaged section needs a full re-side, and not every problem is a simple patch. The honest answer usually comes down to a few factors we walk through on-site:
| Factor | What We Look At | What It Usually Means |
|---|---|---|
| Extent of moisture intrusion | Whether damage is limited to the surface or has reached the sheathing behind it | Surface-only damage is often repairable; saturated sheathing usually isn't |
| How localized the damage is | One wall or section versus problems showing up across multiple elevations | Isolated damage favors repair; widespread failure favors replacement |
| Age and condition of the existing siding | How much useful life is left in the surrounding, undamaged material | Older siding near the end of its life may not be worth patching around |
| Underlying cause | Whether the root issue (flashing, drainage, grade clearance) is fixable in place | A fixable root cause supports repair; a systemic issue often doesn't |
| Finish and color match | How closely a new section can match the weathered look of the rest of the wall | Affects whether a repair stays visually seamless or becomes a visible patch |
We'd rather tell a homeowner a targeted repair will hold for years than sell a full re-side that isn't necessary yet — and we'll say just as plainly when a repair is only going to buy a season or two before the same wall needs attention again.
Why We Only Repair and Install James Hardie Fiber Cement
When we repair a section of siding, we replace it with James Hardie fiber cement — never vinyl, LP SmartSide, Cemplank, Allura, primed spruce, or cedar, regardless of what's already on the house. That's a professional standard, not a sales position. In a climate that combines salt air, driving rain, and a long moss season, we've seen which materials hold up to repeated wetting and drying without swelling, warping, or losing their finish, and which ones don't.
Hardie's fiber cement doesn't absorb moisture the way wood-based siding can, so it stays dimensionally stable through the wet stretches that define a Lake Whatcom winter. The ColorPlus factory finish is baked on under controlled conditions and holds its color and integrity far longer than a field-applied coating exposed to constant lake moisture. Hardie also builds climate-engineered HZ product lines suited to regions like ours, and backs installations that follow their spec with a strong transferable warranty. When we're repairing a wall, we want the replacement section built to outlast the rest of the siding around it, not become the next weak point.
Occasionally that means a homeowner with an older, non-Hardie product on their home hears that a true like-for-like patch isn't something we're willing to install. We'll always explain the reasoning and lay out the honest options, including what a partial or full transition to Hardie would involve, rather than just walking away from the conversation.
What a Proper Repair Checklist Looks Like
- Confirm the full extent of moisture damage before cutting out any material
- Identify and correct the underlying cause — flashing, drainage, or clearance — not just the visible symptom
- Replace damaged fasteners and hardware, not just the siding panel
- Match profile, exposure, and finish as closely as the existing material allows
- Verify water-resistive barrier and flashing integration before closing the wall back up
- Walk the finished repair with the homeowner and explain what was found and fixed
Our Siding Repair Process for Lake Whatcom Homes
- On-site assessment: We look at the damaged area and, just as importantly, the wall's specific exposure to lake wind, sun, and shade to understand why it failed there and not elsewhere.
- Diagnosis: We open the area enough to see what's happening behind the siding — flashing, sheathing, and drainage — before recommending a scope of work.
- Honest scope and pricing: We explain what needs to be fixed, why, and give a clear, written estimate before any work begins.
- The repair: We correct the root cause first, then install new James Hardie material matched as closely as possible to the existing siding.
- Final walkthrough: We show the homeowner what we found and what was done, so there's no guessing about what's now behind the wall.
Why a Crew That Already Works Lake Whatcom Matters
Every wall around the lake doesn't experience the same weather. A house on an open, west-facing stretch of shoreline takes wind-driven rain that a home tucked into a shaded, tree-covered lot never sees, and a crew that only occasionally works this area tends to treat every wall the same. A crew that repairs siding around Lake Whatcom regularly starts to recognize the pattern before the homeowner even describes it — which orientation is likely to be the actual problem wall, where moss tends to establish first, and which fastener or flashing shortcuts from an earlier installation are the usual culprits behind a given failure.
That familiarity matters most in the decisions a homeowner never sees directly: how much clearance a repaired section needs above grade given how slowly the ground dries out here, how flashing needs to be layered so it sheds water correctly through a full wet season, and when a "quick patch" isn't going to hold and it's worth saying so upfront. Those are the details that decide whether a repair lasts one season or several years.
If you've noticed a soft spot, recurring moss, or a section of siding that just doesn't look right on a Lake Whatcom property, we're glad to take a look and give you an honest read on what it actually needs — repair or otherwise. Reach out below for a free, no-pressure estimate.