 Glenhaven Siding
 Why Siding Installation Works Differently in Sudden Valley
Homes in Sudden Valley face a specific combination of weather that most siding products, and most installation crews, aren't built to handle well. Whatcom County's marine climate brings salt-laden air off the water, long stretches of driving rain that hits siding at an angle instead of straight down, and a moss season that can stretch for months in shaded, tree-covered lots. Any one of these on its own is manageable. Together, they're the reason a siding job done with the wrong product or the wrong technique tends to fail early here, even when it looks fine from the curb for the first year or two.
Salt air accelerates corrosion on fasteners, trim, and any metal flashing that isn't properly rated or protected. Driving rain finds every gap in a water-resistive barrier and every under-caulked seam. And moss doesn't just sit on the surface — its root structure holds moisture against the siding face, which is a slow, steady problem for anything that isn't dimensionally stable. Installing siding in Sudden Valley isn't the same job as installing it somewhere dry and inland, and it shouldn't be treated that way.
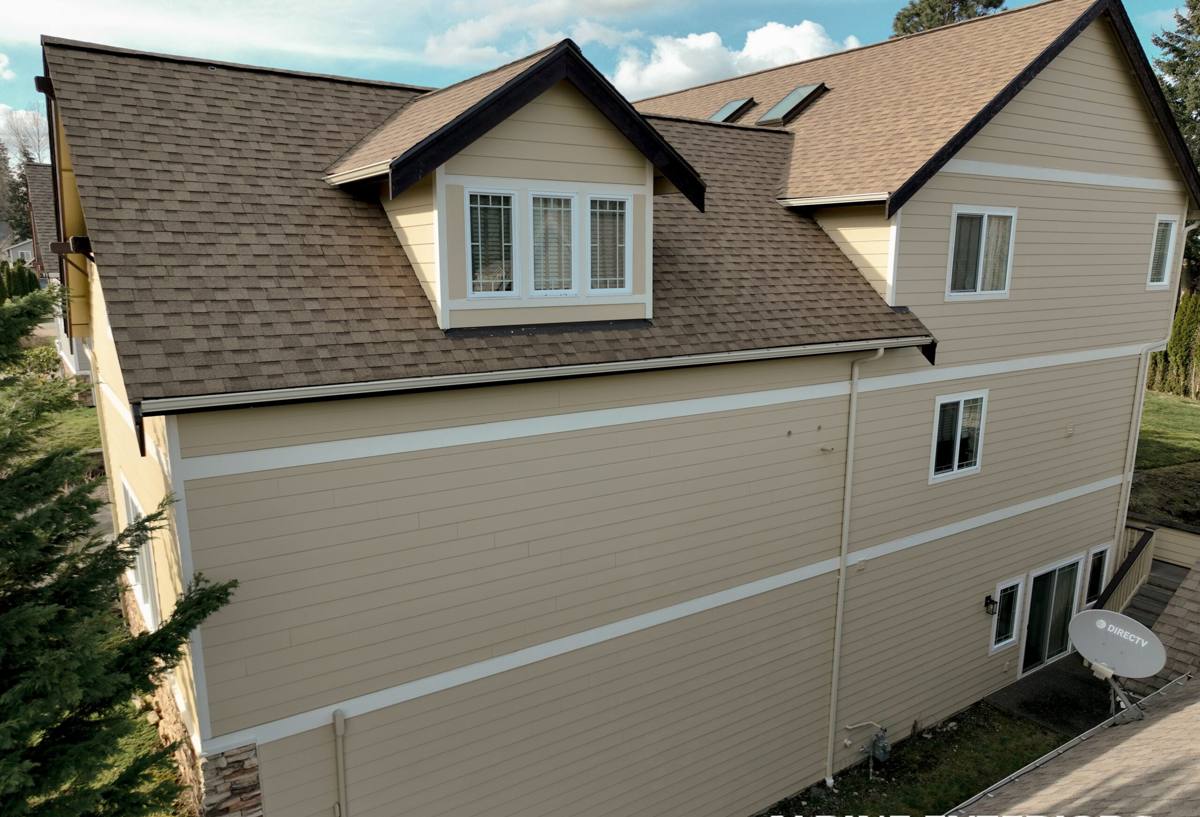
What Correct Siding Installation Actually Involves
A siding job that holds up in this climate comes down to details most homeowners never see once the job is finished. Getting them right the first time is far cheaper than fixing them later.
Water-Resistive Barrier and Flashing
Before a single piece of siding goes up, the wall needs a continuous water-resistive barrier, properly lapped so water sheds downward and outward, never inward. Flashing goes around every window, door, and penetration — and in a driving-rain climate, that flashing needs to be installed in the correct sequence with the barrier, not just caulked over the top as an afterthought. This is the step that's invisible once the siding is on, and it's also the step most responsible for whether a wall stays dry for the next 30 years or starts rotting from the inside in five.
Fastening and Fastener Spacing
Fiber cement siding has manufacturer-specified fastener patterns and spacing for a reason — get it wrong and you either compromise the weather seal or leave the boards free to move, crack, or pull away in wind. In a salt-air environment, fastener material matters too; corrosion-resistant fasteners aren't optional here, they're the difference between trim that stays tight and trim that streaks with rust within a couple of seasons.
Clearance from Grade and Rooflines
Siding installed too close to the ground, a deck, or a roofline traps moisture and gives moss and mildew a permanent foothold. Correct installation keeps consistent clearance at grade and at every roof-to-wall intersection, so water and debris don't sit against the bottom edge of the siding year-round.
Why We Install Only James Hardie Fiber Cement
We don't install vinyl, LP SmartSide, primed wood, or other fiber cement brands, and that's a deliberate standard, not a sales preference. Vinyl expands and contracts with temperature swings and can warp or crack over time; engineered wood products rely on a factory coating that has to be perfectly maintained to resist moisture, which is a hard ask in a climate this wet. Other fiber cement brands exist, but we've standardized on James Hardie specifically because of how the product is engineered and backed.
James Hardie fiber cement is non-combustible, dimensionally stable, and available in HZ5 formulations engineered for exactly this kind of Pacific Northwest exposure — freeze-thaw cycles, sustained moisture, and salt-influenced air. The ColorPlus finish is baked on at the factory under controlled conditions, which gives it more consistent coverage and better fade resistance than field-applied paint, and it carries a real transferable warranty. None of that matters if the installation is sloppy, but paired with correct installation, it's a siding system built for the specific conditions Sudden Valley homes deal with every winter.
Our Installation Process, Start to Finish
1. On-Site Assessment
We start by walking the property, checking the current siding and sheathing for hidden moisture damage, and identifying trouble spots — shaded north walls, areas with heavy moss growth, low-clearance zones near grade or landscaping. This tells us what we're actually dealing with underneath, not just what's visible on the surface.
2. Tear-Off and Substrate Check
Old siding comes off and we inspect the sheathing underneath. Any soft, rotted, or water-damaged sheathing gets addressed before anything new goes up — covering damaged substrate with new siding just hides a problem that will resurface.
3. Weather Barrier and Flashing Installation
This is the step that determines long-term performance. We install the water-resistive barrier and flashing system to manufacturer specification, with particular attention to window and door openings, which are the most common failure points in wind-driven rain.
4. Siding, Trim, and Fastening
James Hardie boards and trim go up per manufacturer spec — correct fastener type, spacing, and clearance at every edge, corner, and penetration.
5. Final Walkthrough and Cleanup
We inspect every elevation, check caulking and seams, and walk the finished job with the homeowner before we call it done.
Signs Your Current Siding Is Already Struggling
A lot of Sudden Valley homeowners call us after noticing something that's easy to write off as cosmetic but usually isn't. Worth checking for:
- Persistent moss or dark streaking that comes back within weeks of cleaning
- Soft or spongy spots when you press on the siding, especially near the bottom courses
- Paint that's bubbling, peeling, or won't hold a fresh coat
- Visible gaps, warping, or boards that have pulled away from the wall
- Rust streaks below fasteners or trim pieces
- A musty smell along interior walls that back up to exterior siding
Any one of these on its own might just need attention. Several at once usually means the water-resistive barrier or flashing underneath has already failed, and it's worth having someone look before deciding whether it's a repair or a full replacement.
Cost Factors for Siding Installation in Sudden Valley
Every home is different, but the same handful of factors drive most of the cost variation we see on jobs in this area.
| Factor | Why It Matters |
|---|---|
| Tear-off scope | Full removal of old siding and any damaged sheathing adds labor but is often necessary for a lasting result |
| Wall complexity | Homes with lots of corners, dormers, or multiple stories take longer to flash and fit correctly |
| Siding profile and trim | Lap siding, shingle-style panels, and trim detail level all affect material and labor time |
| Substrate repair | Rotted or water-damaged sheathing found during tear-off needs to be replaced before new siding goes up |
| Access and site conditions | Sloped lots, tree cover, and limited equipment access common in Sudden Valley can add time |
We provide a written estimate after seeing the specific property — broad national averages don't account for the tear-off condition or terrain most Sudden Valley homes actually have.
Why Local Experience in Sudden Valley Matters
A crew that regularly works in this area already knows what to expect before they climb the ladder — which elevations take the worst wind-driven rain, how much moss pressure a shaded lot is likely to see, and how salt air tends to affect fasteners and trim over time. That experience shows up in small decisions: where to add extra flashing attention, which fastener spec to insist on, how tight to run clearances at grade. If your property is part of a homeowner association with exterior guidelines, a local crew is also more likely to already understand how to work within those requirements without slowing the project down.
None of that is a substitute for correct installation fundamentals, but it's the difference between a crew that's guessing at what the climate will do to a house and one that already knows.
Caring for Your Siding After Installation
Correctly installed James Hardie siding is low-maintenance, but "low-maintenance" doesn't mean "no maintenance," especially in a climate that grows moss on nearly anything left alone. A simple annual routine goes a long way:
- Rinse siding down once or twice a year to keep moss and mildew from taking hold, especially on shaded elevations
- Keep gutters clear so overflow isn't running down the siding face
- Trim back vegetation and tree limbs that keep siding shaded and damp
- Check caulking at trim and penetrations every couple of years and re-caulk as needed
- Address any soft spots, gaps, or rust streaks promptly rather than waiting
If you're weighing a siding replacement or just want an honest read on whether your current siding still has life in it, we're happy to take a look. Reach out for a free, no-pressure estimate using the form below.